我感觉自己像个白痴。我在 Azure 中设置了一个简单的 Windows 虚拟机,需要 12 个远程用户(全部在家工作)通过 VPN 访问该虚拟机,以便简单地访问共享驱动器。我认为这会非常简单,但我花了几天试图弄清楚这一点。
我已经完成了服务器设置,现在我意识到(经过几天的搜索)使用 RRAS 的传统 PPTP 或 L2TP VPN 无法工作,因为 Azure 框架阻止了这些协议(protocol)。我也从类似 this one 的帖子中看到 表示使用 Azure Connect 并且它应该可以满足我们的需求。但是,该帖子中对 Herve Roggero's Blog 的引用 甚至是微软自己的 Azure Support Site 谈论我无法使用的功能,并且屏幕截图看起来与我在 Azure 控制台上看到的完全不同。事实上,Microsoft 网站的帮助文档已有 2 到 2.5 年的历史。说真的,MS...更新你的文档!
我的控制台看起来像 this image (来自 Google 搜索的示例图像...不是我的真实界面)
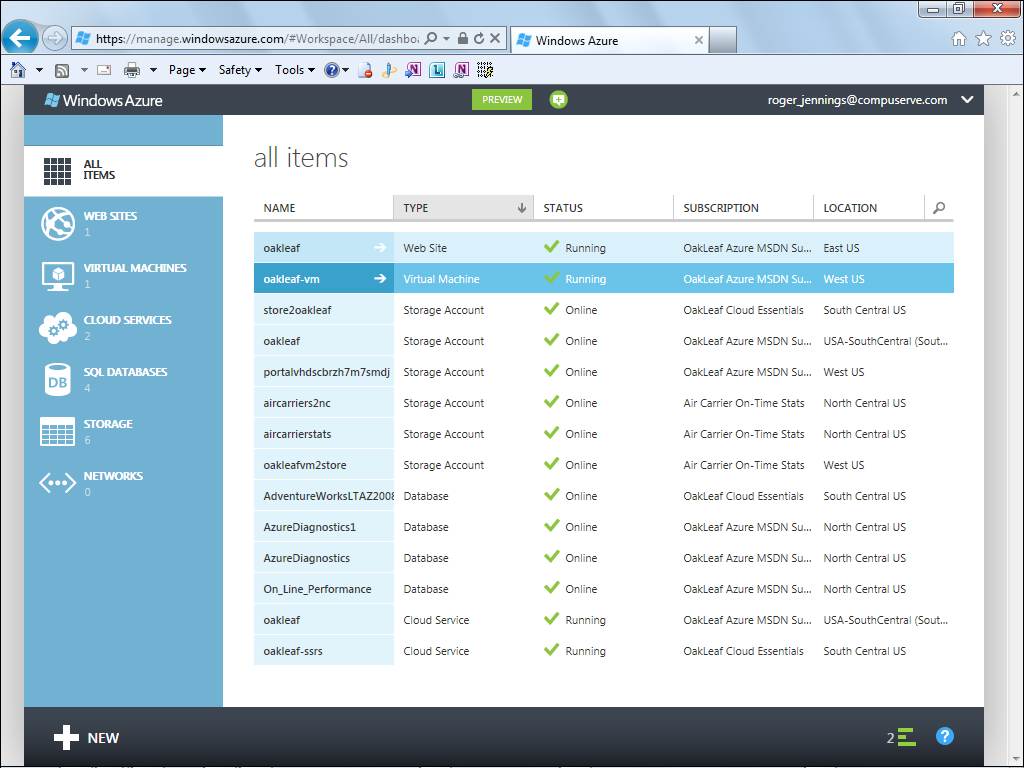
但是,这些文章引用的控制台看起来像 this image
我使用的 Azure 版本不正确吗?他们更新了界面但没有更新文档吗?底线是,如何(使用我拥有的 Azure 界面)使用 Azure Connect?我尝试创建虚拟网络,但那里没有任何选项可以选择 Install Local Endpoints with Windows Azure Connect 。我是个白痴还是我在这里遗漏了一些东西?
最佳答案
仅供引用 - 有一篇关于如何在 Azure 上设置 SSTP VPN 提供商(无需连接)的博客文章:
1. Create new Windows Server VM using "Quick Create"
2. The DNS name, username and password will be used to connect to the VPN
3. The public port created by default for RDP is a random one between 41952-65535. But you can edit the endpoint to change the public port to 3389. Go to Virtual Machines, select the VM, select Endpoints, select RemoteDesktop endpoint, click Edit Endpoint at the bottom and change the public port to 3389.
4. Create TCP endpoint at port 443
5. Connect using Remote Desktop (RDP) through the Dashboard

---------- Server Role
1. Click on Server Manager -> Manage -> "Add Roles and Features"
2. Add "Remote Access", include VPN and Routing (needed for NAT) role services and restart
3. Click on Server Manager -> Notifications -> "Open the Getting Started Wizard"
4. Select "Deploy VPN only"

---------- Server Certificate
1. Open an elevated CMD prompt
2. Use SelfSSL (IIS6 Resource Kit, custom install only this component, http://support.microsoft.com/kb/840671 ) to generate an SSL certificate for the SSTP:
C:\>"c:\Program Files (x86)\IIS Resources\SelfSSL\selfssl.exe" /N:cn=<...>.cloudapp.net /V:3650
(3650 == 10 years, "<...>.cloudapp.net" represents the fully-qualified domain name, FQDN)
3. Confirm prompt with "y", ignore metabase error (if it appears)
4. Run mmc.exe, add snap-in for Certificates -> Computer account
5. Click on Personal -> Certificates
6. Right-click on the <...>.cloudapp.net certificate, then on All Tasks -> Export, include private keys and protect with password

---------- Server RRAS
1. Run Routing and Remote Access (RRAS) tool
2. Right-click on the server and then on "Configure and Enable RRAS"
3. Choose "Custom configuration", select "VPN access" and NAT
4. Right-click on the server and then on Properties -> Security
5. Select the <...>.cloudapp.net certificate
6. Click on the IPv4 tab
7. Enter a "Static address pool" for the number of clients, e.g.: 192.168.1.1 - 192.168.1.20 (otherwise the connection will fail with error 720)
8. Don't enter a range that is too short. The OS keeps a lock on a used IP address for a while, so reconnecting often or from multiple devices may use up the pool and the connection will fail with error 0x8007274C
9. Right-click on IPv4 -> NAT, then on "New Interface", select the external interface (e.g. "Ethernet 2")
10. Click on "Public interface connected to the Internet" and check "Enable NAT on this interface"

---------- Server User
1. Open "Computer Management" console
2. Click on "Local Users and Groups", then on Users, double click on your account
3. Click on Dial-in and change "Network Access Permission" to "Allow access"

---------- Client Certificate
1. Manage Computer Certificates
2. Click on "Place all certificates in the following store", then on Browse
3. Select "Trusted Root Certificate Authorities", if you store the certificate in the personal store, the connection will fail with error 0x800B0109

---------- Client Connection
1. Go to Network and Sharing Center, click on "Setup a new connection or network"
2. Select "Connect to a workplace", then VPN
3. Enter <...>.cloudapp.net, name and create
4. Click on Network tray icon
5. Right-click on new VPN connection, then show properties
6. Click on Security, set VPN type to SSTP and allow only MS-CHAP v2
7. Connect using same credentials used to create the VM and for RDP
8. Test your internet connectivity
9. Use a web site that shows your external IP, it should be an IP from the Azure datacenter

---------- SSL Certificate
To avoid installing a self-certificate to the trusted store (or for devices with a locked trusted store), do the following:
1. Open the IIS Manager on the server
2. Click on the server, then on "Server Certificates"
3. Click on "Create Certificate Request" (Certificate Signing Request, CSR)
4. Enter <...>.cloudapp.net as the "Common name", fill the rest and export as text file
5. Buy an SSL certificate using the CSR (cheap SSL certificates start at around $5/year)
6. Once the SSL authority issues the certificate:
a) Install to the server's and client's "Local Machine" personal store as described above, skipping the step to copy/move it to the trusted store
b) Select the same certificate in the RRAS tool, on the Security tab
我确认它有效。
关于azure - Windows Azure VPN - 如何安装/使用 Azure Connect,我们在Stack Overflow上找到一个类似的问题: https://stackoverflow.com/questions/14946643/