我是 Android 的新手,因此遇到了这样的问题。
如何更改布局:
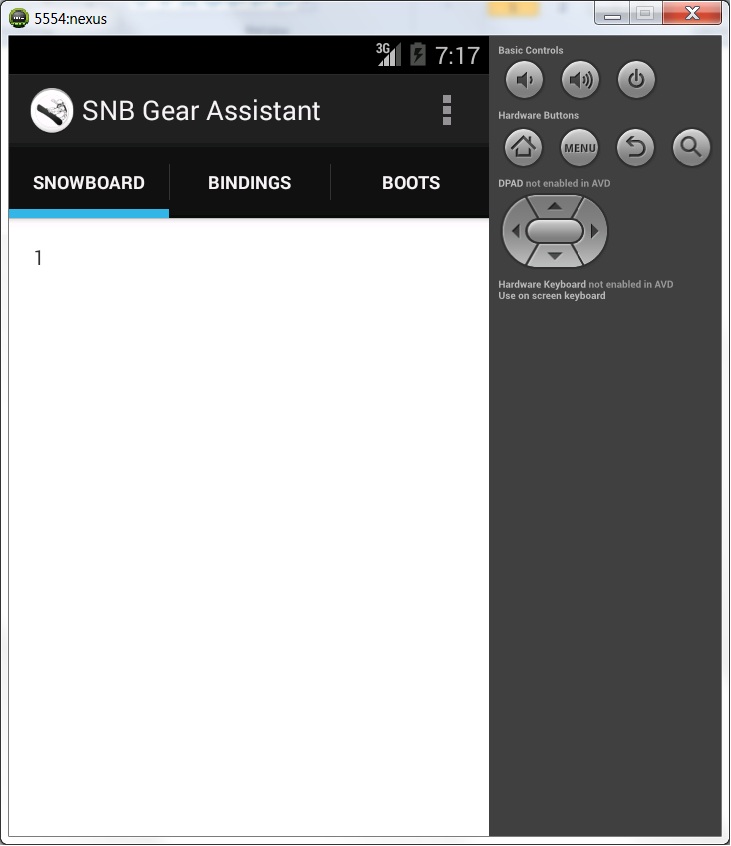
收件人:
XML fragment_main:
<RelativeLayout xmlns:android="http://schemas.android.com/apk/res/android"
xmlns:tools="http://schemas.android.com/tools"
android:layout_width="match_parent"
android:layout_height="match_parent"
android:paddingBottom="@dimen/activity_vertical_margin"
android:paddingLeft="@dimen/activity_horizontal_margin"
android:paddingRight="@dimen/activity_horizontal_margin"
android:paddingTop="@dimen/activity_vertical_margin"
tools:context="com.example.snbgearassistant.MainActivity$PlaceholderFragment" >


<TextView
    android:id="@+id/section_label"
    android:layout_width="wrap_content"
    android:layout_height="wrap_content" />

</RelativeLayout>
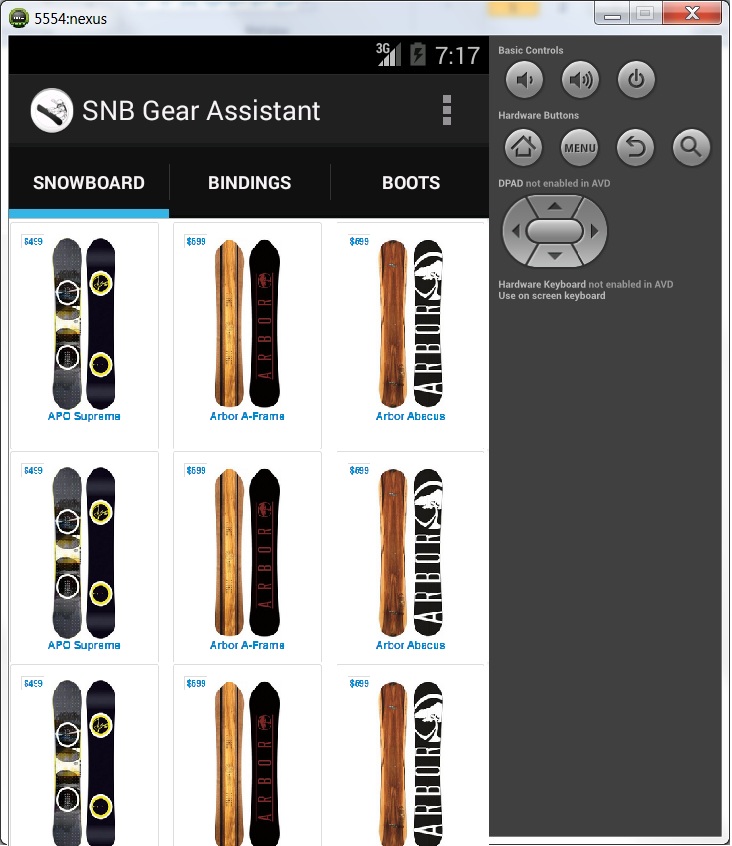
所以我需要这些具有不同内容的网格布局的选项卡。
最佳答案
您必须在 ViewPager 中使用 GridView。因此,在您的 MainActivity 中,您将拥有此布局。
创建activity_main.xml布局
这是主布局。一切都将存在于其中,包括您的 fragment 和选项卡。
<android.support.v4.view.ViewPager xmlns:android="http://schemas.android.com/apk/res/android"
    xmlns:tools="http://schemas.android.com/tools"
    android:id="@+id/pager"
    android:layout_width="match_parent"
    android:layout_height="match_parent"
    tools:context="com.myapp.gridview.MainActivity" />
创建您的 MainActivity.java 类
public class MainActivity extends ActionBarActivity implements ActionBar.TabListener
{

    SectionsPagerAdapter mSectionsPagerAdapter;

    /**
     * The {@link ViewPager} that will host the section contents.
     */
    ViewPager mViewPager;

    @Override
    protected void onCreate(Bundle savedInstanceState)
    {
        super.onCreate(savedInstanceState);

        // Here we load the xml layout we created above
        setContentView(R.layout.activity_main);

        // Set up the action bar.
        final ActionBar actionBar = getSupportActionBar();
        actionBar.setNavigationMode(ActionBar.NAVIGATION_MODE_TABS);

        // Create the adapter that will return a fragment for each of the three
        // primary sections of the activity.
        mSectionsPagerAdapter = new SectionsPagerAdapter(getSupportFragmentManager());

        // Set up the ViewPager with the sections adapter.
        mViewPager = (ViewPager) findViewById(R.id.pager);
        mViewPager.setAdapter(mSectionsPagerAdapter);

        // When swiping between different sections, select the corresponding
        // tab. We can also use ActionBar.Tab#select() to do this if we have
        // a reference to the Tab.
        mViewPager.setOnPageChangeListener(new ViewPager.SimpleOnPageChangeListener()
        {
            @Override
            public void onPageSelected(int position)
            {
                actionBar.setSelectedNavigationItem(position);
            }
        });

        // For each of the sections in the app, add a tab to the action bar.
        for (int i = 0; i < mSectionsPagerAdapter.getCount(); i++)
        {
            // Create a tab with text corresponding to the page title defined by
            // the adapter. Also specify this Activity object, which implements
            // the TabListener interface, as the callback (listener) for when
            // this tab is selected.
            actionBar.addTab(
                    actionBar.newTab()
                            .setText(mSectionsPagerAdapter.getPageTitle(i))
                            .setTabListener(this));
        }
    }


    @Override
    public void onTabSelected(ActionBar.Tab tab, FragmentTransaction fragmentTransaction)
    {
        // When the given tab is selected, switch to the corresponding page in
        // the ViewPager.
        mViewPager.setCurrentItem(tab.getPosition());
    }

    @Override
    public void onTabUnselected(ActionBar.Tab tab, FragmentTransaction fragmentTransaction)
    {

    }

    @Override
    public void onTabReselected(ActionBar.Tab tab, FragmentTransaction fragmentTransaction)
    {

    }

    /**
     * A {@link FragmentPagerAdapter} that returns a fragment corresponding to
     * one of the sections/tabs/pages.
     */
    public class SectionsPagerAdapter extends FragmentPagerAdapter
    {

        public SectionsPagerAdapter(FragmentManager fm)
        {
            super(fm);
        }

        @Override
        public Fragment getItem(int position)
        {
            // getItem is called to instantiate the fragment for the given page.
            // Return a PlaceholderFragment (defined as a static inner class below).
            return new PlaceholderFragment();
        }

        @Override
        public int getCount()
        {
            // Show 3 total pages.
            return 3;
        }

        @Override
        public CharSequence getPageTitle(int position)
        {
            Locale l = Locale.getDefault();
            switch (position)
            {
                case 0:
                    return getString(R.string.title_section1).toUpperCase(l);
                case 1:
                    return getString(R.string.title_section2).toUpperCase(l);
                case 2:
                    return getString(R.string.title_section3).toUpperCase(l);
            }
            return null;
        }
    }
}
Don't forget to create your strings for these
R.string.title_section1, ...strings on your code, or you will have an error.
现在我们必须为 fragment (将在选项卡内显示的页面)创建一个布局,它必须包含一个 GridView。
创建一个 fragment_main.xml 布局
<?xml version="1.0" encoding="utf-8"?>
<FrameLayout
    xmlns:android="http://schemas.android.com/apk/res/android"
    android:layout_width="match_parent"
    android:layout_height="match_parent">
    <GridView
        android:id="@+id/gridview"
        android:layout_width="match_parent"
        android:layout_height="match_parent"
        android:verticalSpacing="0dp"
        android:horizontalSpacing="0dp"
        android:stretchMode="columnWidth"
        android:numColumns="2" />
</FrameLayout>
现在让我们定义 fragment 类,它将负责扩展此布局和处理 View 。
创建一个 fragment 来膨胀 GridView 布局:PlaceHolderFragment.java
/**
 * A placeholder fragment containing a the gridview
 */
public class PlaceholderFragment extends Fragment
{
    /**
     * The fragment argument representing the section number for this
     * fragment.
     */
    private static final String ARG_SECTION_NUMBER = "section_number";

    public PlaceholderFragment() {
    }

    @Override
    public View onCreateView(LayoutInflater inflater, ViewGroup container, Bundle savedInstanceState)
    {
        View rootView = inflater.inflate(R.layout.fragment_main, container, false);

        // Here we inflate the layout we created above
        GridView gridView = (GridView) rootView.findViewById(R.id.gridview);
        gridView.setAdapter(new MyAdapter(MainActivity.this.getApplicationContext()));

        return rootView;
    }
}
现在我们必须创建一个适配器类来处理 GridView 的每个项目,这样您就可以管理每个项目的行为。
创建适配器以支持 GridView 项:MyAdapter.java
正如您在这里看到的,我们将一些项目添加到 GridView,方法是将它们添加到适配器类末尾定义的 Item 类型的 ArrayList。
private class MyAdapter extends BaseAdapter
{
        private List<Item> items = new ArrayList<Item>();
        private LayoutInflater inflater;

        public MyAdapter(Context context)
        {
            inflater = LayoutInflater.from(context);

            items.add(new Item("Image 1", Color.GREEN));
            items.add(new Item("Image 2", Color.RED));
            items.add(new Item("Image 3", Color.BLUE));
            items.add(new Item("Image 4", Color.GRAY));
            items.add(new Item("Image 5", Color.YELLOW));
        }

        @Override
        public int getCount() {
            return items.size();
        }

        @Override
        public Object getItem(int i)
        {
            return items.get(i);
        }

        @Override
        public long getItemId(int i)
        {
            return items.get(i).colorId;
        }

        @Override
        public View getView(int i, View view, ViewGroup viewGroup)
        {
            View v = view;
            ImageView picture;
            TextView name;

            if(v == null)
            {
                v = inflater.inflate(R.layout.gridview_item, viewGroup, false);
                v.setTag(R.id.picture, v.findViewById(R.id.picture));
                v.setTag(R.id.text, v.findViewById(R.id.text));
            }

            picture = (ImageView)v.getTag(R.id.picture);
            name = (TextView)v.getTag(R.id.text);

            Item item = (Item)getItem(i);

            picture.setBackgroundColor(item.colorId);
            name.setText(item.name);

            return v;
        }

        private class Item
        {
            final String name;
            final int colorId;

            Item(String name, int drawableId)
            {
                this.name = name;
                this.colorId = drawableId;
            }
        }
    }
现在要使 GridView 项目保持正确的宽度,并排对齐,我们使用自定义类来定义测量尺寸。
为什么需要这样做?根据@kcoppock's answer :
Basically, in Android's
ImageViewclass, there's no way to simply specify "hey, keep a square aspect ratio (width / height) for this view" unless you hard code width and height. You could do some manual adjustment ofLayoutParamsin the adapter's getView, but frankly, it's much simpler to letImageViewhandle all the measurements, and just override the results to say "Whatever the width ends up being, make my height stay the same". You never have to think about it, it's always square, and it just works as expected. Basically this is the easiest way to keep the view square.
创建一个类 SquareImageView.java
import android.content.Context;
import android.util.AttributeSet;
import android.widget.ImageView;

public class SquareImageView extends ImageView
{
    public SquareImageView(Context context)
    {
        super(context);
    }

    public SquareImageView(Context context, AttributeSet attrs)
    {
        super(context, attrs);
    }

    public SquareImageView(Context context, AttributeSet attrs, int defStyle)
    {
        super(context, attrs, defStyle);
    }

    @Override
    protected void onMeasure(int widthMeasureSpec, int heightMeasureSpec)
    {
        super.onMeasure(widthMeasureSpec, heightMeasureSpec);
        setMeasuredDimension(getMeasuredWidth(), getMeasuredWidth()); //Snap to width
    }
}
现在我们必须为 GridView 项定义 XML 布局。
创建 XML 布局 gridview_item.xml
如您所见,我们在布局中添加了两个项目。一个是 SquareImageView 类型的元素(我们在上面创建的类)和 TextView 这是每个图像的标签。
<?xml version="1.0" encoding="utf-8"?>

<FrameLayout xmlns:android="http://schemas.android.com/apk/res/android"
    android:layout_width="match_parent"
    android:layout_height="match_parent">
    <com.myapp.gridview.SquareImageView
        android:id="@+id/picture"
        android:layout_width="match_parent"
        android:layout_height="match_parent"
        android:scaleType="centerCrop"
        />
    <TextView
        android:id="@+id/text"
        android:layout_width="match_parent"
        android:layout_height="wrap_content"
        android:paddingLeft="10dp"
        android:paddingRight="10dp"
        android:paddingTop="15dp"
        android:paddingBottom="15dp"
        android:layout_gravity="bottom"
        android:textColor="@android:color/white"
        android:background="#55000000"
        />
</FrameLayout>
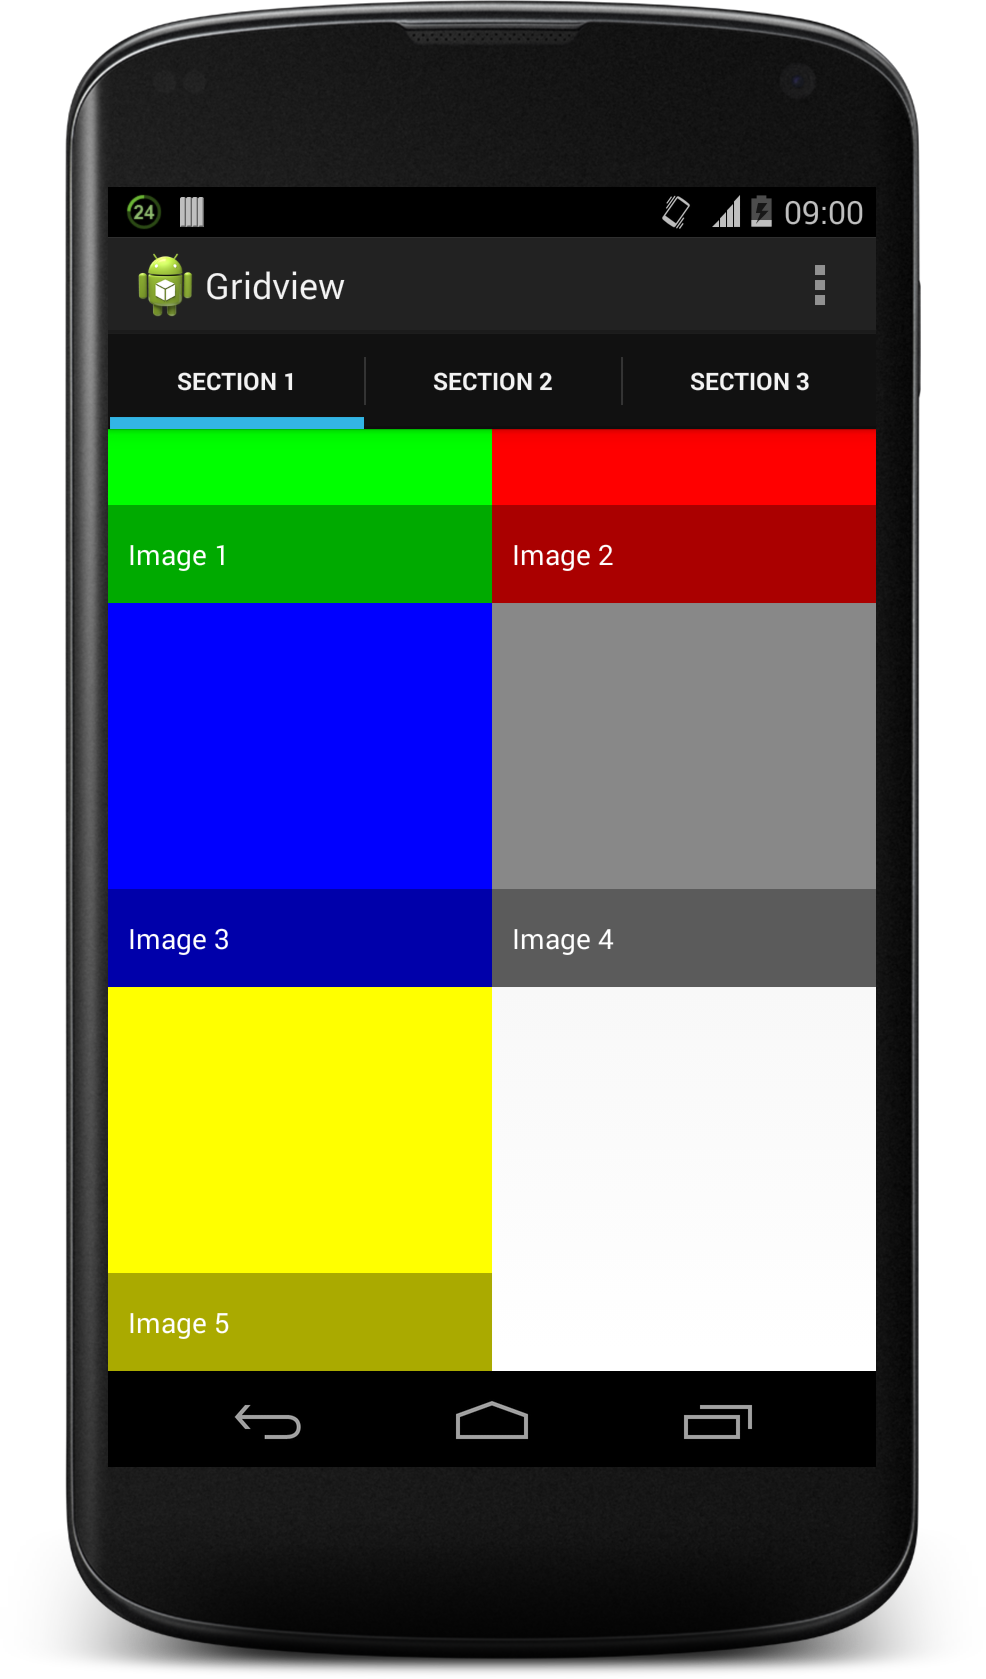
就是这样,我测试了代码,这是最终结果。当然,您会更改图像的这些颜色,但这是您应该遵循的方法。
注意:要为 GridView 项设置图像而不是颜色,请在 MyAdapter< 的 类使用getView() 方法中setImageResource(int)而不是 setBackgroundColor(int)。
关于android - 选项卡内的网格布局,我们在Stack Overflow上找到一个类似的问题: https://stackoverflow.com/questions/23493527/